Easy Custom Branding (WordPress Plugin)
The Ultimate White-Label Solution for Agencies & Developers
Transform the standard WordPress experience into a polished, professional environment for your clients. Custom Branding for WordPress allows you to completely white-label the login screen and admin dashboard, removing WordPress branding and replacing it with your own (or your client’s) identity.
✨ Key Features
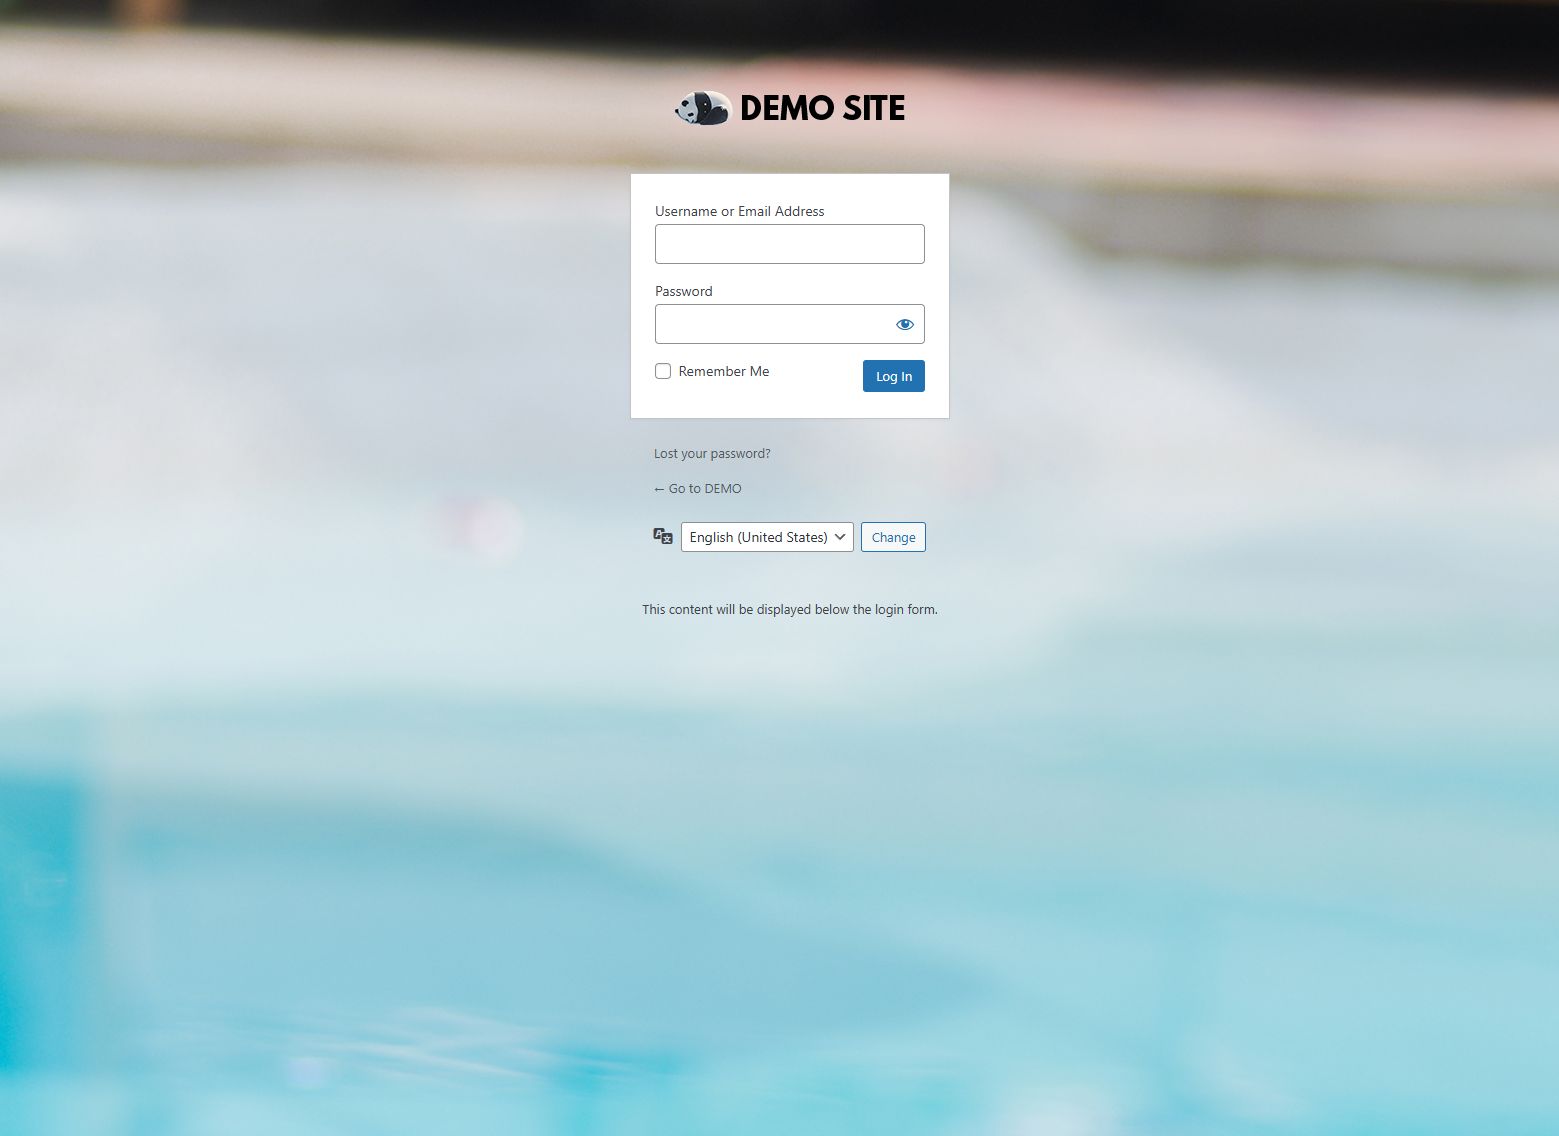
🎨 Login Screen Customization
Make a great first impression by fully styling the login page (wp-login.php).
- Branded Logo: Upload a custom logo, define its dimensions, and customize the link and screen reader text.
- Visual Styling: Set a custom background image and tweak the color palette (form background, text, buttons) to match brand guidelines.
- Advanced Control: Inject Custom CSS for pixel-perfect styling or add Custom HTML to display messages below the login form.
⚙️ Dashboard & Admin Interface
Streamline the backend to reduce clutter and confusion for non-technical users.
- Brand Presence: Replace the WP logo in the Admin Bar and customize the dashboard footer text.
- Decluttering: Hide specific Dashboard Widgets (e.g., ‘At a Glance’, ‘Quick Draft’) and remove the WordPress Version number.
- Menu Management: Hide specific admin menu items for non-administrator users to prevent accidental setting changes.
- UI Cleanup: Remove the ‘Help’ and ‘Screen Options’ tabs from the top of the dashboard.
✉️ Email & Communication
Ensure all automated system emails look professional.
- Sender Identity: Globally change the “From Name” and “From Email Address” for all outgoing WordPress notifications.
🛠️ System & Utilities
Fine-tune the overall site behavior and frontend appearance.
- Frontend Cleanup: Hide the Admin Bar on the frontend for non-admins and remove unnecessary metadata (e.g., WP Version, RSD links) from the site header.
- Security UI: Option to disable the password strength meter on user forms.
🚀 Installation Guide
- Download the plugin
.zipfile. - Log in to your WordPress dashboard and navigate to Plugins → Add New.
- Click Upload Plugin, select the downloaded
.zipfile, and click Install Now. - Activate the plugin.
- Navigate to Settings → Custom Branding to begin configuration.
📖 Configuration & Usage
Once installed, all settings are centralized under Settings → Custom Branding. The interface is divided into four intuitive tabs:
| Tab | Description |
|---|---|
| Login Page | Customize the visual appearance of /wp-login.php. |
| Admin Area | Modify the backend dashboard, admin bar, and footer. |
| Email Settings | Set the global sender name and email address. |
| General Settings | Toggle the frontend admin bar, header cleanup, and other utilities. |
Note: After making changes, ensure you click “Save Settings” at the bottom of the page. All changes are applied globally and immediately.
📄 License
This project is licensed under the GNU General Public License v2.0 or later.